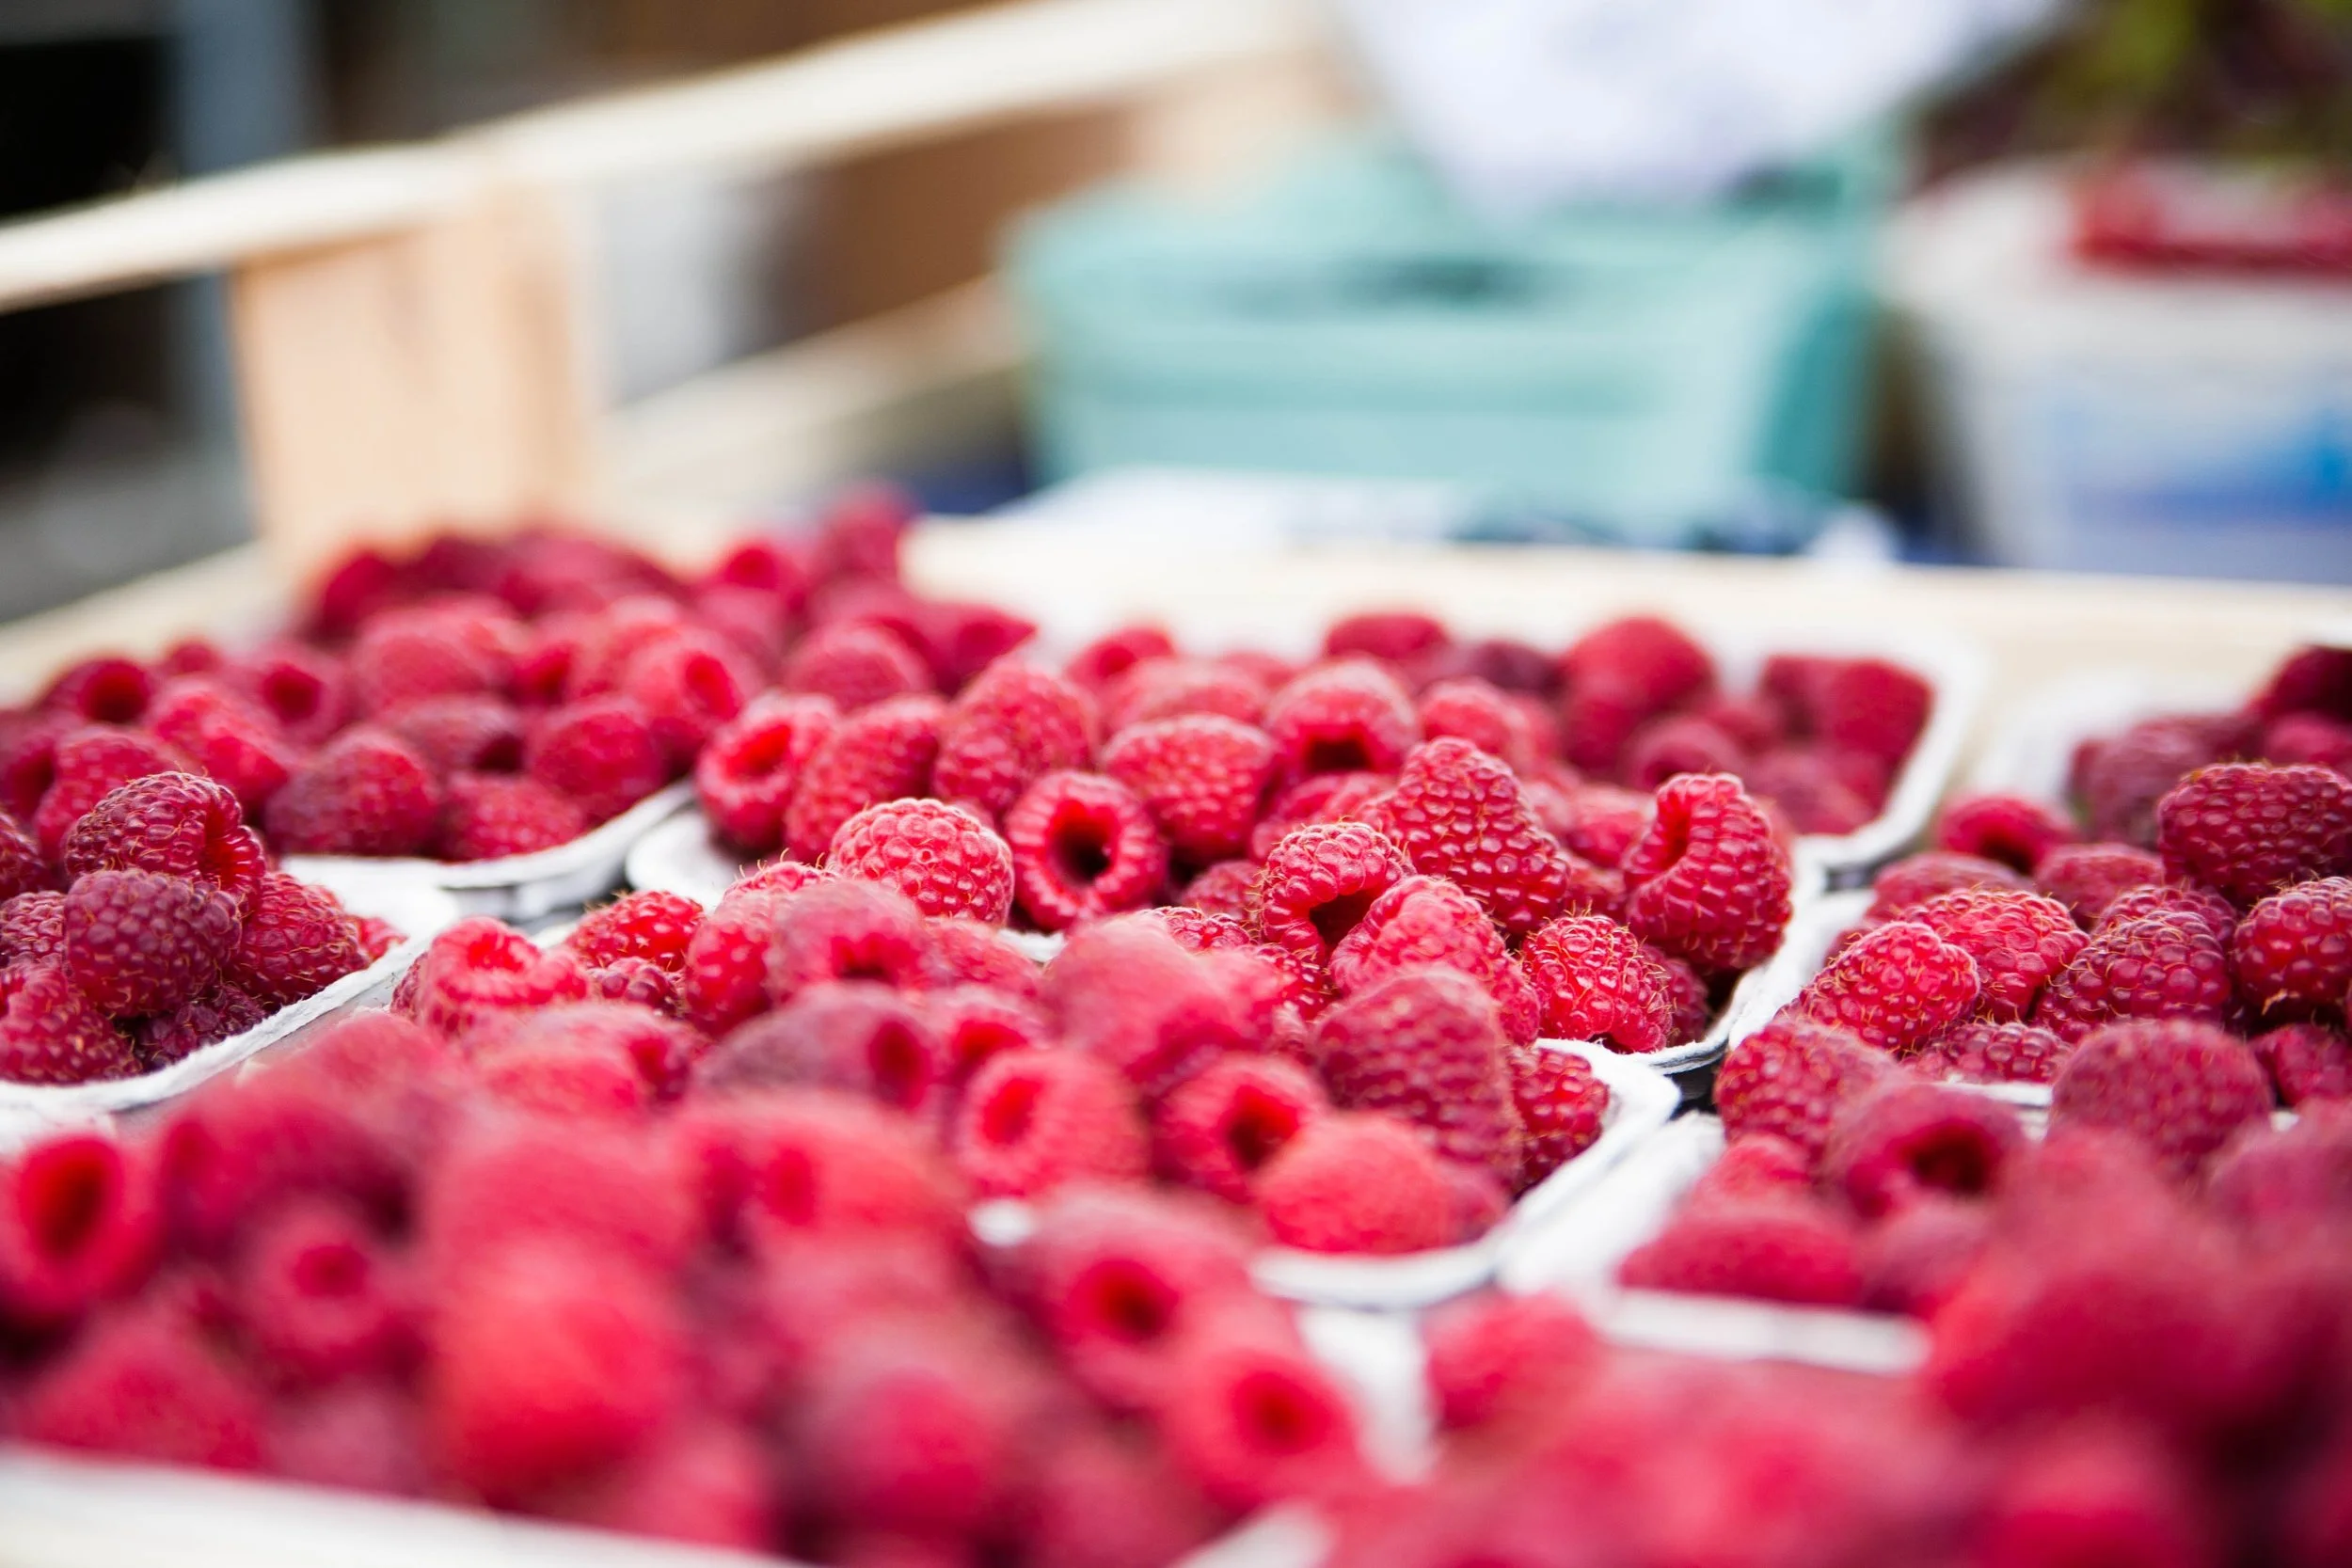
The hint of warm weather we’ve had in New York State has us dreaming of summer. Until the real deal arrives, we’ll recreate the taste of it in the kitchen with our favorite berry recipes. This simple, healthy, non-dairy take on blueberry cheesecake is about as simple as it gets—but packs a major punch of flavor.
All you need to make these no-cook, vegan cheesecakes are a bunch of ingredients you probably already have in your pantry. Because they’re frozen before serving, fresh or frozen blueberries work equally well. You can also use homemade blueberry jam or compote, swirling a spoonful into the tops of your cheesecakes for a sweet treat and beautiful color. Serve individually, or arrange them on a tiered cake stand for extra visual appeal.
Ingredients
1 1/2 cups raw cashews
1 cup crushed graham crackers
3–4 tablespoons vegan butter, softened
Juice of 1 large lemon
1/3 cup coconut oil, melted
2/3 cup coconut milk, mixed well
1/2 cup agave nectar
1/2 cup blueberries, fresh or frozen, or blueberry jam
Instructions
Grease a muffin tin or muffin cups, and set aside. In a bowl, pour boiling water over the cashews and soak for at least 20 minutes.
In a medium bowl, crumble the graham crackers with your fingers. Add 3 tablespoons vegan butter and mix until it begins to stick together when pinched with your fingers.
Scoop a heaping tablespoon of crust into each muffin cup and press down with the back of a spoon. Put the muffin tin in the freezer for about 30 minutes to set up.
In a blender, mix the lemon juice, coconut oil, coconut milk, and agave until very smooth. If the mixture doesn’t seem to be thickening, add another squeeze of agave or lemon juice and blend again. Taste and adjust for sweetness, or add a little salt if desired.
Divide the filling evenly among the muffin tins. Drizzle blueberry juice or jam onto the tops of the cheesecakes and swirl with a toothpick or spoon. Top with blueberries, either pressing them lightly into the cheesecake or mounding them on top. Cover loosely with plastic wrap or waxed paper and freeze for 4 to 6 hours, until hard.
Allow to warm slightly, until you can slide a butter knife around the edges to loosen. Use a spoon or miniature pastry spatula to remove them from the tin. Serve right out of the freezer, or let them sit at room temperature for 10 minutes before serving.


